


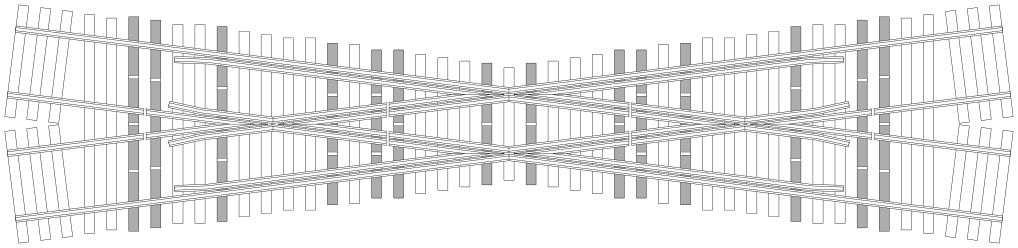
Switch type
Crossing type
Crossing angle
Rail code
Not sure? Code 83 is the most common HO rail.
Don't see your crossing?
Looking for another track type or scale? See our other templates
Pick your paper and download
Print it at full size
If it prints even a little small, your crossing won't fit your ties. Three quick checks:
- ● Actual size○ Fit to pagePick "Actual size" or "100%"It's in your print window, under Scale or Page sizing.
- Fit to pageShrink to fitNever "Fit to page"It shrinks the template to fit the paper, so it comes out too small.
- Check the 2 inch barLay a ruler on the bar at the bottom of the page. It should measure exactly 2 inches.
Joining the pages
This template prints on more than one page of Letter paper.
Only one page gets cut. The pages overlap. Each new page is trimmed and laid over the one before it.
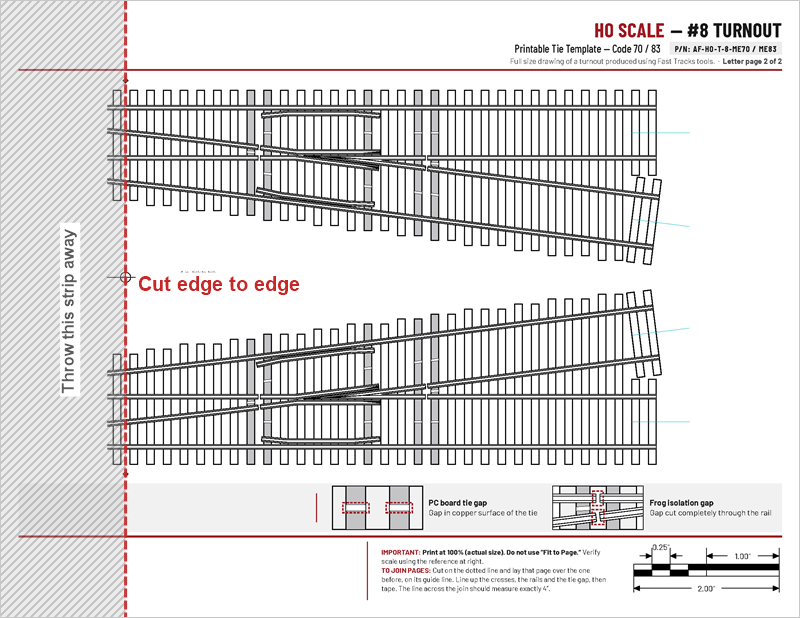 Trim page 2Cut along the dotted line, from the top edge of the paper to the bottom. Throw the strip away. Leave page 1 whole.Longer templates: do the same to each page after that.
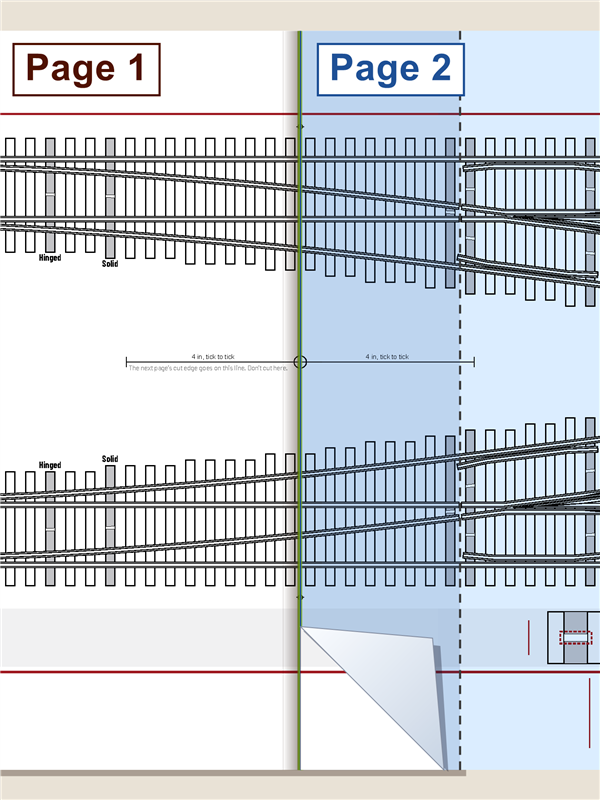 Lay it over the page beforePut the cut edge right on the thin guide line. Line up the crosses, the rails and the tie gap.
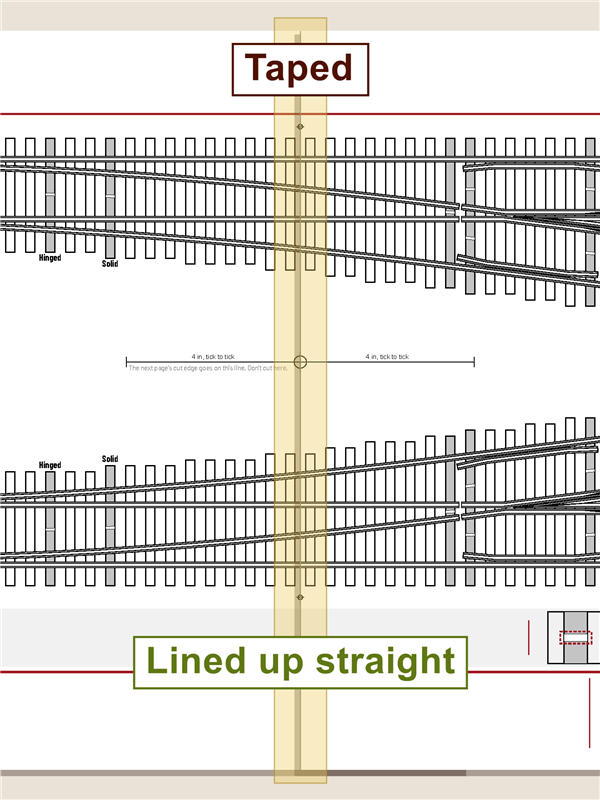 Tape it in stagesPut a small piece of tape at the top and check it's lined up exactly. Then a small piece at the bottom. Once both are right, run a long piece down the front and the back.The line across the join should measure what the page says, like 4 inches.
Watch how it's built
Our 12-step video series takes you through building a turnout with a Fast Tracks fixture, start to finish.
- 1Pre-forming the guardrails4:52
- 2Pre-building the frog point9:47
- 3Hinged vs. fixed points3:41
- 4Adding the PC board ties8:21
- 5Preparing and installing the stock rails9:26
- 6Preparing and installing the switch points9:59
- 7Installing the guardrails4:58
- 8Installing the frog points9:23
- 9Installing the throwbar5:38
- 10Cleaning the trackwork4:18
- 11Gluing the trackwork to QuickSticks9:48
- 12Cutting the gaps in the rail7:40