Your cart is currently empty!
2 In Stock
We can ship the BF-0020 immediately. If you order more than what we have available, we will hold your order and add additional units required to our production queue. The lead time for this product is shown above.
PRICE : $27.85(USD)
2 in stock
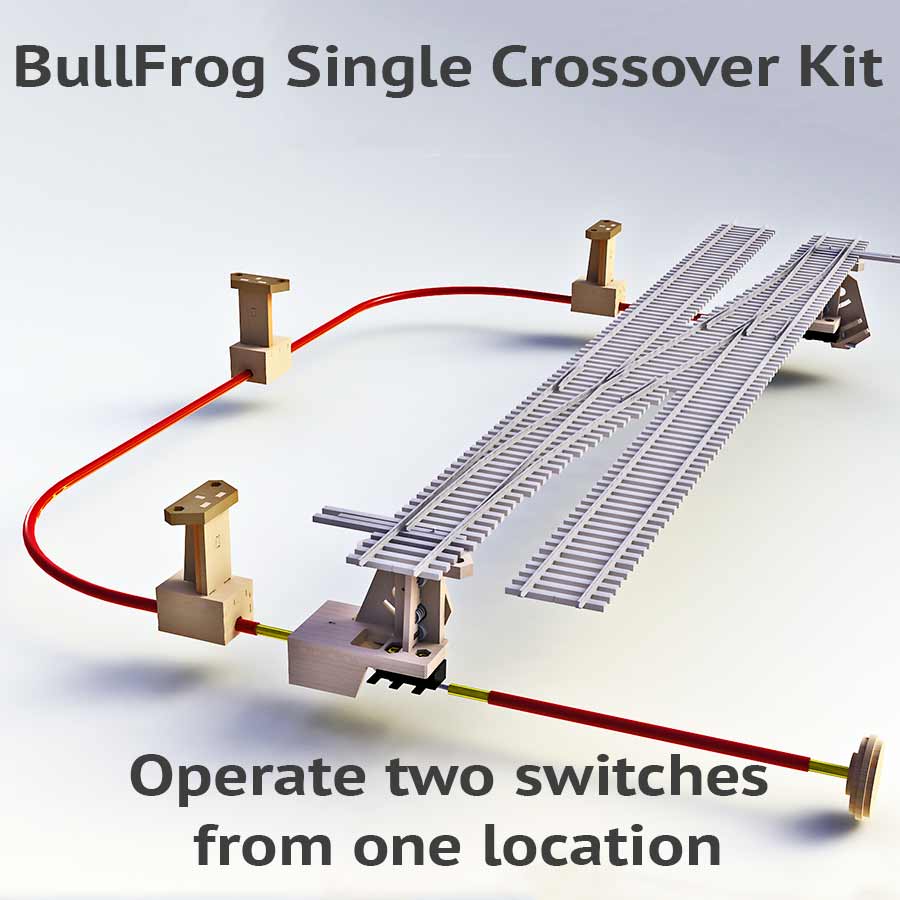
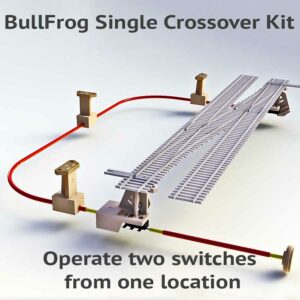
The BullFrog Single Crossover kit includes all the materials necessary to operate a single crossover with a single control knob.
Each Single Crossover Kit includes:
- 2 - BullFrog Switch Machine Kits
- 1 - Double ended Z Bend Connector
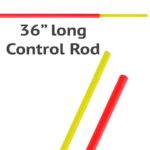
- 1 - 36" length of Control Rod (both outer and inner rods)
- 3 - TadPole remote mounts
- 1 - Installation wrench (To screw the control rod onto the Z bend connector)
Installing the BullFrog Crossover Kit is as simple as inserting one double ended Z bend connector on the first of two BullFrog switch machines included in the kit. Three TadPole control rod supports, included in the kit, are used to hold the control rod connected to the BullFrog machine on the other turnout in the crossover. This will allow the two machines to be switched at the same time.
The TadPoles come un-assembled but can be put together with wood glue in about 5 minutes.
Download the complete assembly and installation guide for the BullFrog and BullFrog Accessories.
6 reviews for BullFrog Single Crossover Kit
You must be logged in to post a review.
The BullFrog Switch Machine and Accessories
This all-in-one document provides complete instructions for assembling the BullFrog Manual Turnout Control, TadPole Remote Control Rod Mount, Control Rod Hanger/Joiner, Control Rod Kit, The SideWinder, and Decorative Knobs.
The BullFrog Manual Turnout Control
One of the least expensive manual turnout controls available anywhere; the BullFrog offers all the same features as more expensive turnout controls. It includes a full selection of options and accessories. This overview video explains how the system works.
Building The BullFrog Turnout Control - Part 1
Here Tim demonstrates how to put together the unassembled version of the BullFrog.
Building The BullFrog Turnout Control - Part 2
Here Tim demonstrates how to put together the unassembled version of the BullFrog.
Building The BullFrog Turnout Control - Part 3
Here Tim demonstrates how to put together the unassembled version of the BullFrog.
BullFrog Control Rod Kit
The control rod kit includes all of the parts that you will need to connect the BullFrog manual turnout control to your front panel.
BullFrog Dual Actuator For Free-Mo Layouts
The BullFrog Dual Actuator makes it easy to switch the BullFrog switch machine from both sides of your layout. Designed for Free-mo modules, the actuator can be used on any type of layout where you need to control the BullFrog manual turnout control from two locations.
BullFrog Manual Turnout Control - Stress Testing
Before releasing our new BullFrog manual turnout control, we built this test jig to stress test the design. After 100,000 cycles, the BullFrog showed no significant signs of wear. To simulate switching stress, we restrained the switch wire, which broke after 10,000 cycles, while the BullFrog was no worse for wear.
Fast Tracks Video Channel
Visit our growing collection of track building demonstration videos

Fast Tracks Knowledge Base
In addition to an extensive Q&A section, we also offer a full library of track building documents.
Items you may want to include in your order


Michael G Redin (verified owner) –
How can you beat best possible quality and a low price?
Guest Reviewer –
This was my FIRST time with any Bullfrog kit! To be honest, I had been wary for several years, because I found the wood construction a little suspect... HOWEVER, after seeing Bullfrog turnout "motors" under two Club Layouts, including one that had a couple of pre-teen boys being as abusive as they could try! This went on for about 15-20 minutes, until a Club member finally stopped them... (I NEVER interfere with children not related to me - it's not the 80's anymore!) Anyway, I went back to those two turnouts. One know had roughly 1/4 of it broken off. It was odd in that it appeared that whoever built it, managed to line up the woodgrain in ALL of the parts of that knob! (Possible assembly tip?) I then operated both turnouts. Incredibly, they both operated flawlessly smooth!! The push-pull of the knows was firm, smooth, and with a solid click every time the ball locked into position. So, it was easy to surmise that I would never POUND on them that hard, and was permanently sold! So, as soon as I can afford it, they will be operating everything but my two reverse loops. They went together very easily. I wanted to insure long term strength, so I used yellow Wood Glue instead of White. I highly recommend Bullfrog Products!
Garrett Drozd (verified owner) –
unit works well but it a little tricky to install rod cable fter units are mounted, I had to disassemble swing arm on far unit to screw in cable
Tom Linville (verified owner) –
I ordered a bunch of Bullfrog stuff after deciding not to have the expense of Tortoise's (or other) electric switch machines for the turnouts close to my control panel. The unassembled machines go together quickly and easily with the laser-cut parts fitting precisely. I used super-glue instead of white glue without problems, which sped up the job. I did have a little difficulty at first assembling a "left" vs. a "right" machine. The little arrows on the parts aren't of much use. Note in the Bullfrog Turnout Control Assembly Instructions that the machine in drawing 8 is reversed from all the other drawings, which are for a "right assembly." I did buy a few of this Single Crossover Kit, which includes two Bullfrogs and three Tadpoles, plus a 36" cable. I'm just installing this kit on the layout, and have had trouble getting it to work. The problem seems to be flexing of the cable, even with the three Tadpoles installed as shown. The cable flexes and the far machine (at the cable end away from the knob) does not operate. I think I can solve the problem by loosening the swing arm and removing the micro switch (which I don't need since I can use the micro switch on the first machine) to reduce the friction and thus the load on the cable. I will also glue the cable jacket (red tube) to the Tadpoles and far machine so that it cannot move. This should prevent the cable from flexing and therefore transfer all the motion of the inner control rod (yellow) to the far machine's swing arm as desired. It's also important to keep the bends in the cable quite broad-- radius greater than 6" , and to be sure the cable and machines line up in-line. I also found the small star "wrench" in the control rod kits totally useless. It's for turning (or holding) the inner rod to install it on the threaded Z-bend connector on the swing arm. It's nearly impossible to get it onto the inner rod. Much easier to just carefully hold the inner rod with fingers or pliers (so not to damage it). Pretty easy to screw on the inner rod holding it from outside the Bullfrog without the outer (red) jacket, which can be slipped on afterwards. Bottom line, these are GREAT products, inexpensive and easy to assemble, and they work quite well.
Paul Buhrke (verified owner) –
This is my third "Bullfrog" crossover kit. This is the best for operating both turnouts of a crossover at the same time. After building several individual "Bullfrogs" , these go in quite quickly. They also lend themselves to on-site modifications as needed as well.
James Parker (verified owner) –
I installed three Crossover Kits on my N-Scale layout with great results after two modifications. I used Sullivan 2-56 Clevises to connect the yellow push rod on both ends to the respective Bullfrog machines and cut off the two screw ends of the Double ended Z Bend Connector to connect the push rod to the clevises. I attached the clevises to the extra hole in each Bullfrog machine reserved for a second switch and then connected the Control Rod Knob just like a single Control Rod Kit would be installed using the regular single Z Bend Connector. Without the clevises, you would need to screw the push rod into two connectors at each end at the same time, which I found to be very difficult. Secondly, I secured the red control rod to the included Tadpoles with wire to keep the red control rods from bending. I wrapped the wire in a figure eight from one side of the tadpole to the other. This eliminated almost all movement in the red control rod and made the yellow rod move very smoothly and efficiently. This kit is a great value as it works great but it also provided a lot of enjoyment and pride in making something myself.